To make sure only you can add your lights to your system, there is a special procedure to perform to make the lights “discoverable” at the moment you decide to add them to your Home. We call this the “pairing mode”.
1. "Ready to pair"
If your light has never been paired before, then it will simply enter pairing mode when you power it on.
To avoid creating disturbances, the light will not give any visual feedback (such as blinking or pulsing). But it will be available for pairing.
Note that this will also be triggered if:
- the light has been paired before but cannot find its usual network when powered on
- the light has been paired before and found its network at power on, but could not connect to it due to a wrong password
2. Manually triggering pairing mode
To trigger it, you need to turn ON your light 3 times in a row with the power switch, with 1-2 seconds between each ON.
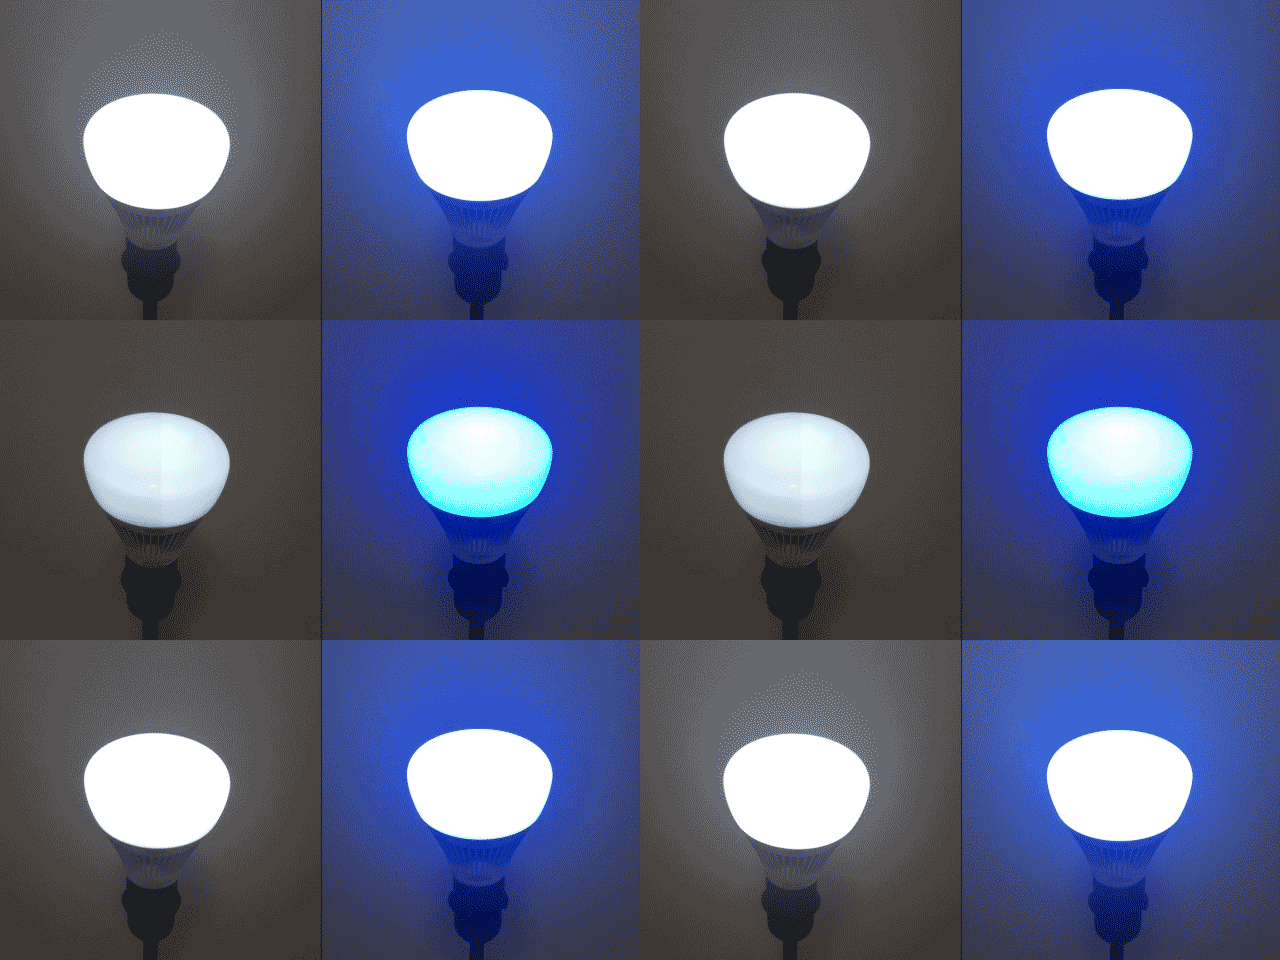
Then your light will start to pulse in blue (color light) or cool white (tunable white light). It is ready to be added to your Home in your WiZ application.
Then your light will start to pulse in blue (color light) or cool white (tunable white light). It is ready to be added to your Home in your WiZ application.

Note: If you have re-pairing your light and have not deleted it from the application before doing so, pairing mode will be triggered by ON 5 times.
So as a more general rule you can put your light in pairing mode by turning it repeatedly OFF and ON with the power switch until it pulses in blue (color light) or cool white (tunable white light).
3. "Manual setup" (Access Point pairing)
Once you have manually triggered pairing and the light starts pulsing, it will be listening for 1 minute for pairing messages from your phone.
After 1 minute, the pulsing pattern will change to a double pulse. Color lights will be in purple.
This signals that the light is now emitting its own Wi-Fi and ready for "Manual setup" in WiZ app.
